So, with all the peripherals in order, the building can commence. Much is to be expected of the CNC Laser cut kit as I have not yet read a bad comment on the internet about these kits. Is instructed in the manual, I’ll start with the tail feathers. I will not get in to the actual logging of the build as the manual actually is quit good and provides sufficient photos.
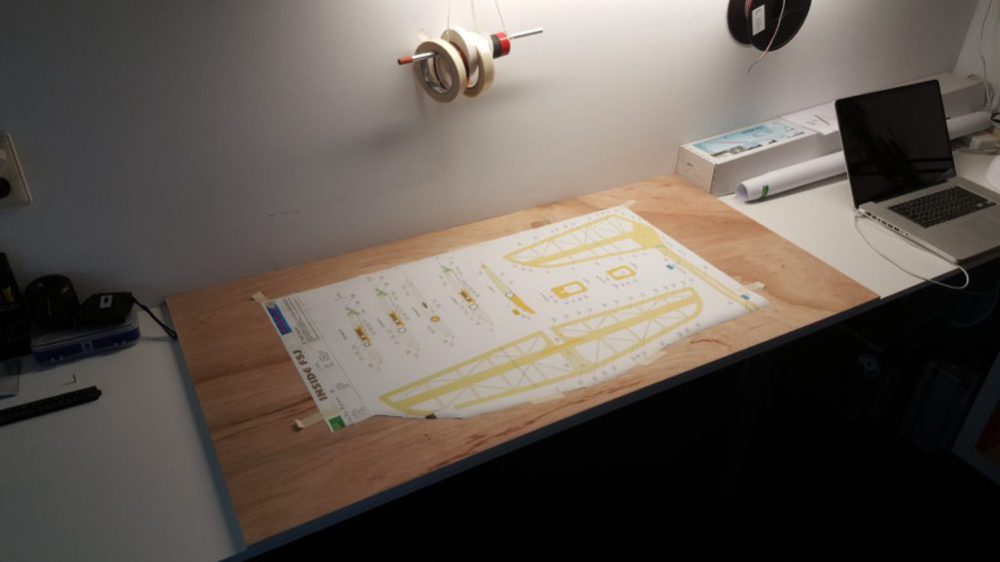 So, as instructed, I took the plans and cut the tailplane part out, but not after we (@rob) made a digital scan and printed a copy. The original stays complete as reference material!
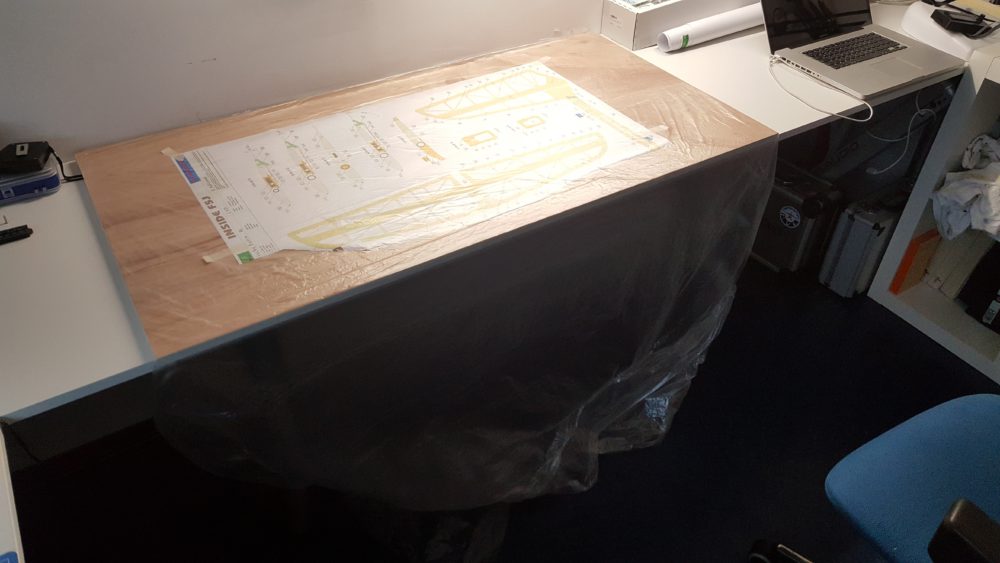
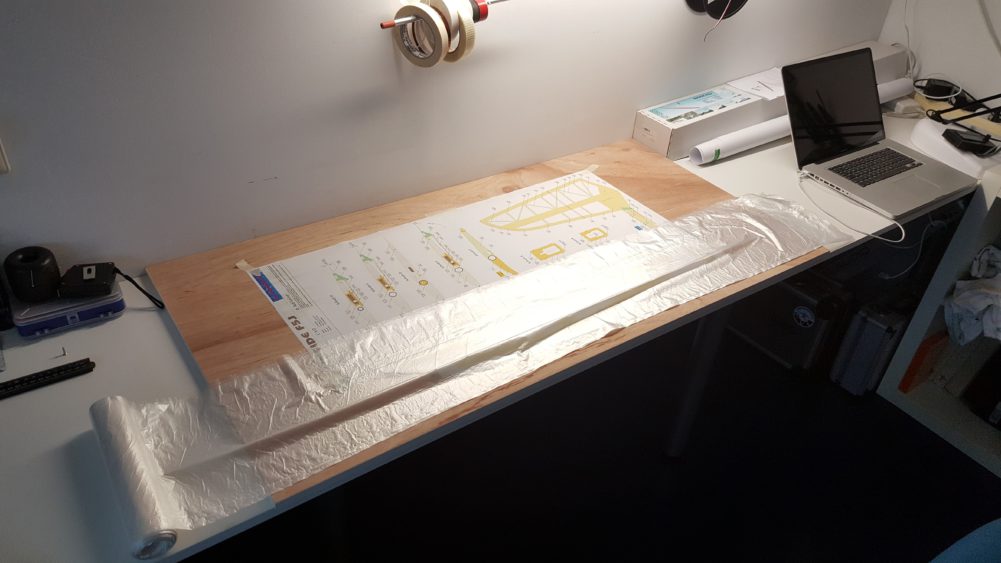 The plans are covered with plastic to protect them from sticking to plane once “glueing” has started. It is suggested to use thin plastic that is normally used to cover food, but as I have a lot of plastic that I used to cover furniture when doing some home-remodeling, That is what I use (I’ve got loads of this stuf, it is very thin and cheap). It’s about 3 meters wide so I need to untangle it a bit…
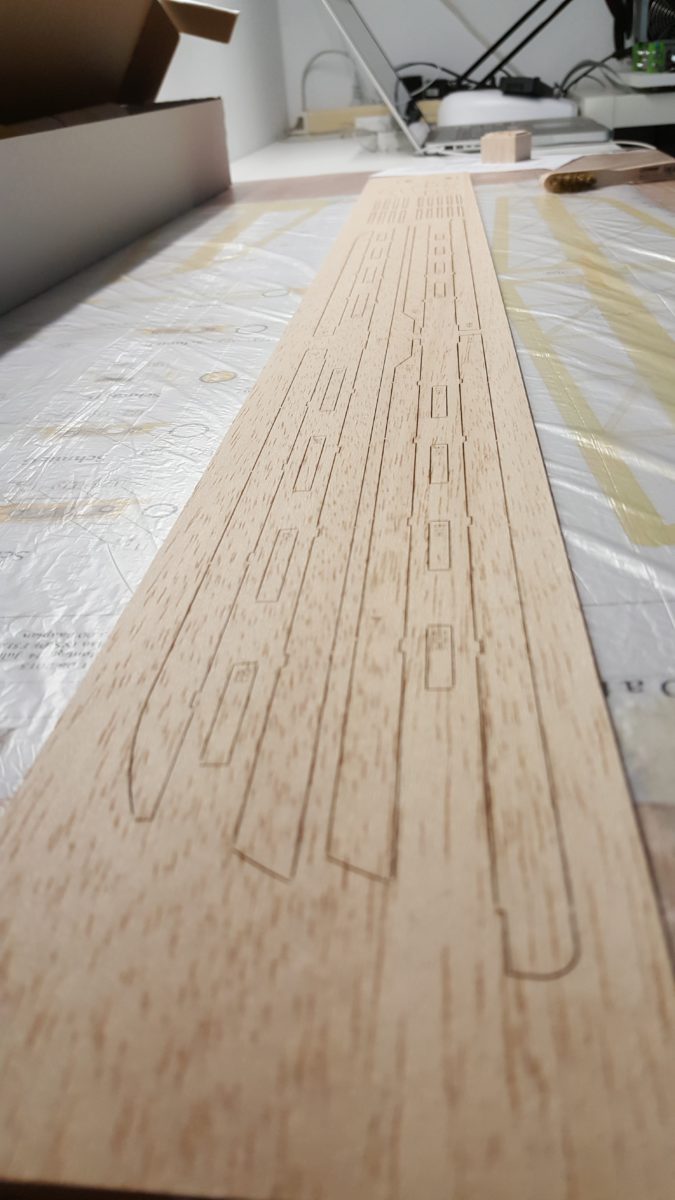
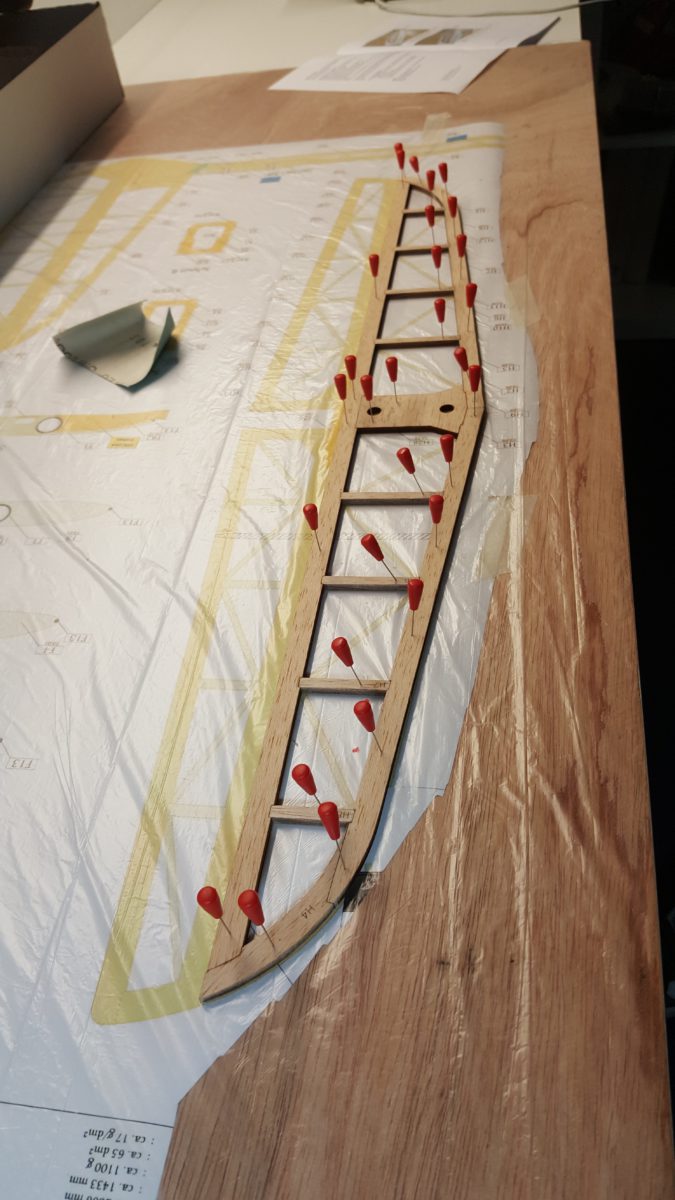
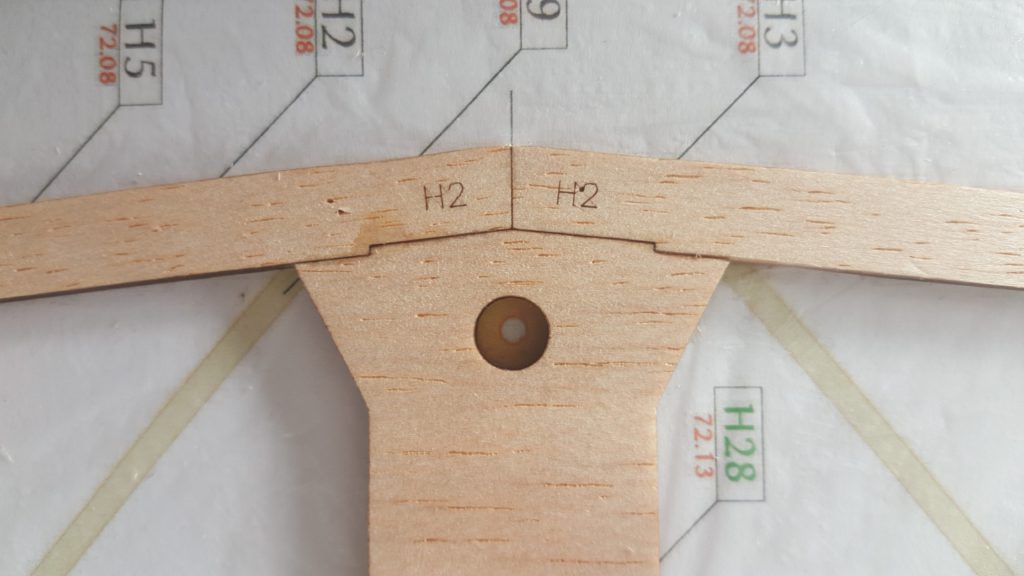 The first parts are cut out of the boards of Balsa. As everyone who build a CNC-kit from Höllein can confirm; the fit of the lasercut parts is phenomenal! As the first steps into building the Inside F5J are set and the first part is produced, I am looking forward to the process of “problem free” building!
Tail Feathers