So, It has been a while,.. Running a blog takes more time than I was prepared to put into this. So basically I stopped updating. Good news, though,… the F5J as operational! I do not fly it enough but is is a nice glider. It is not very agile, maybe even e bit clunky, but it is a magastic plane, handles well, and land very accutate. I might see if I can give un update on the current hardware (also, read the first sentence….).

Buildlog
Minor status update
I am having difficulties in keeping up with writing on this Blog. The “Inside F5J” is progressing well and I keep on making pictures, but writing blog-updates is lagging. Currently, the 3D-puzzle (i.e. the buildkit) is all glued up, the servo wiring is installed and the plugs are soldered. The covering is yet to commence.
Next update:.. soon!
Let the building commence
So, with all the peripherals in order, the building can commence. Much is to be expected of the CNC Laser cut kit as I have not yet read a bad comment on the internet about these kits. Is instructed in the manual, I’ll start with the tail feathers. I will not get in to the actual logging of the build as the manual actually is quit good and provides sufficient photos.
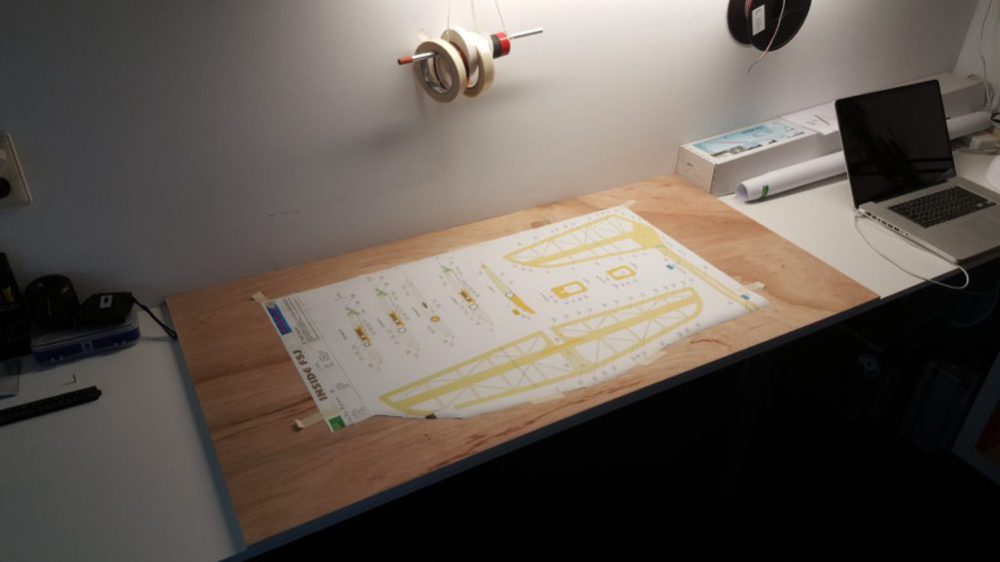 So, as instructed, I took the plans and cut the tailplane part out, but not after we (@rob) made a digital scan and printed a copy. The original stays complete as reference material!
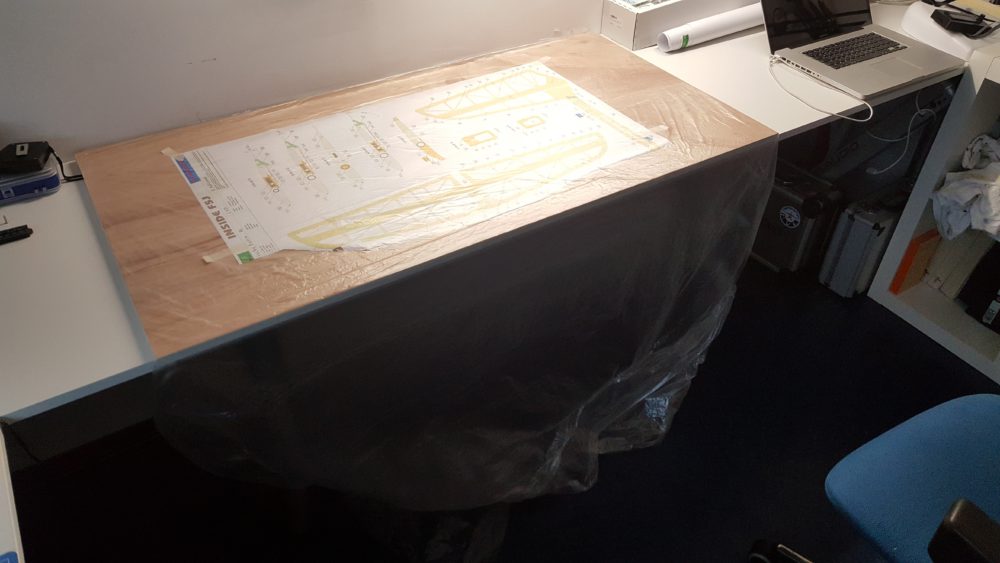
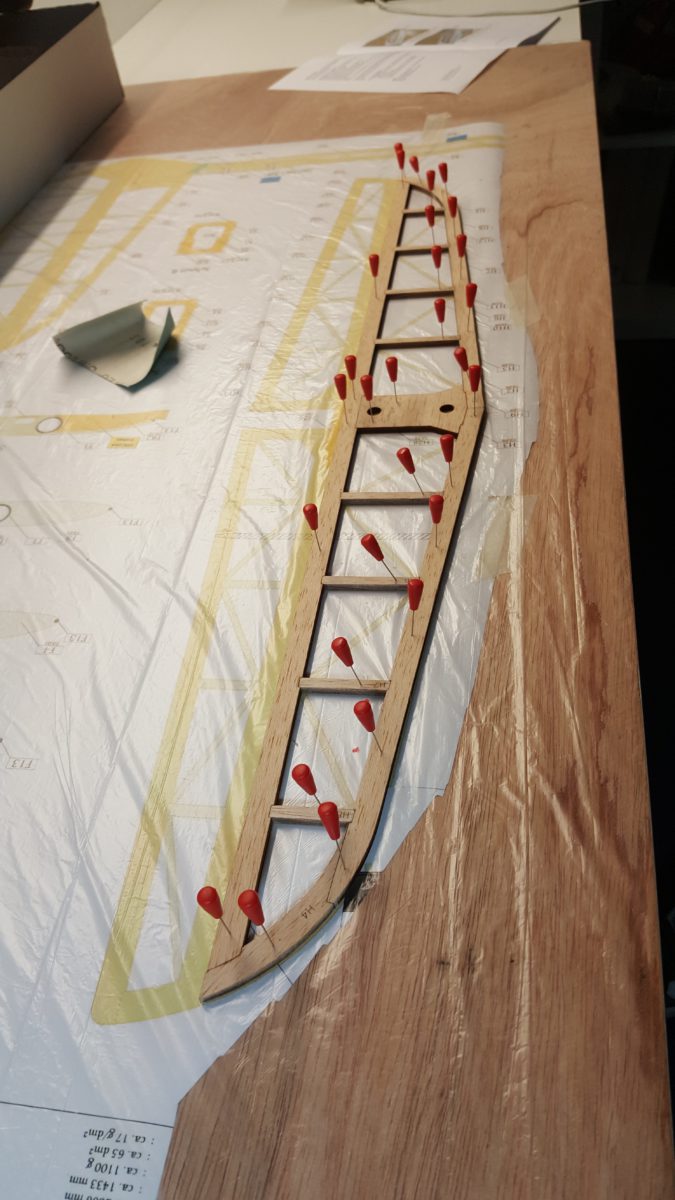
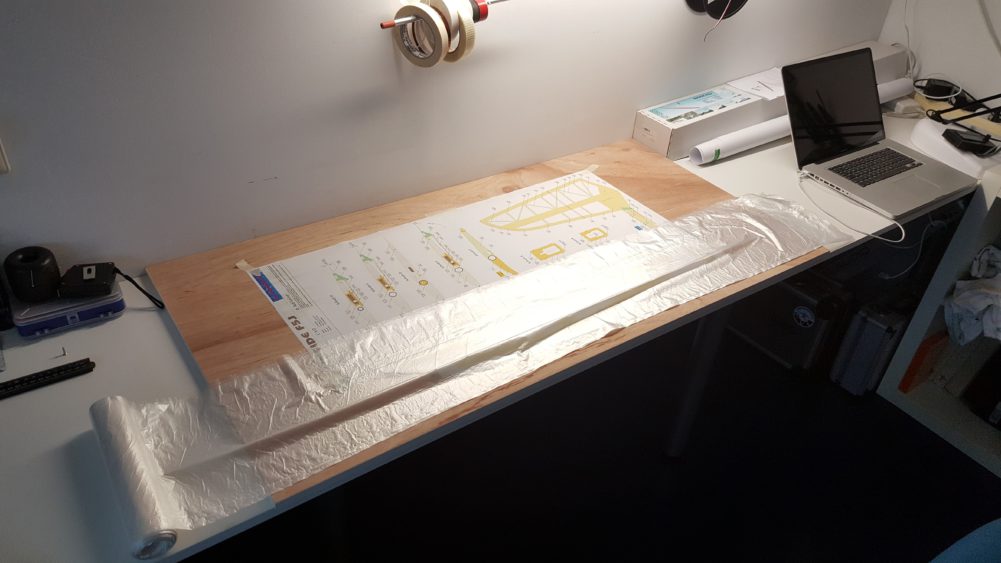 The plans are covered with plastic to protect them from sticking to plane once “glueing” has started. It is suggested to use thin plastic that is normally used to cover food, but as I have a lot of plastic that I used to cover furniture when doing some home-remodeling, That is what I use (I’ve got loads of this stuf, it is very thin and cheap). It’s about 3 meters wide so I need to untangle it a bit…
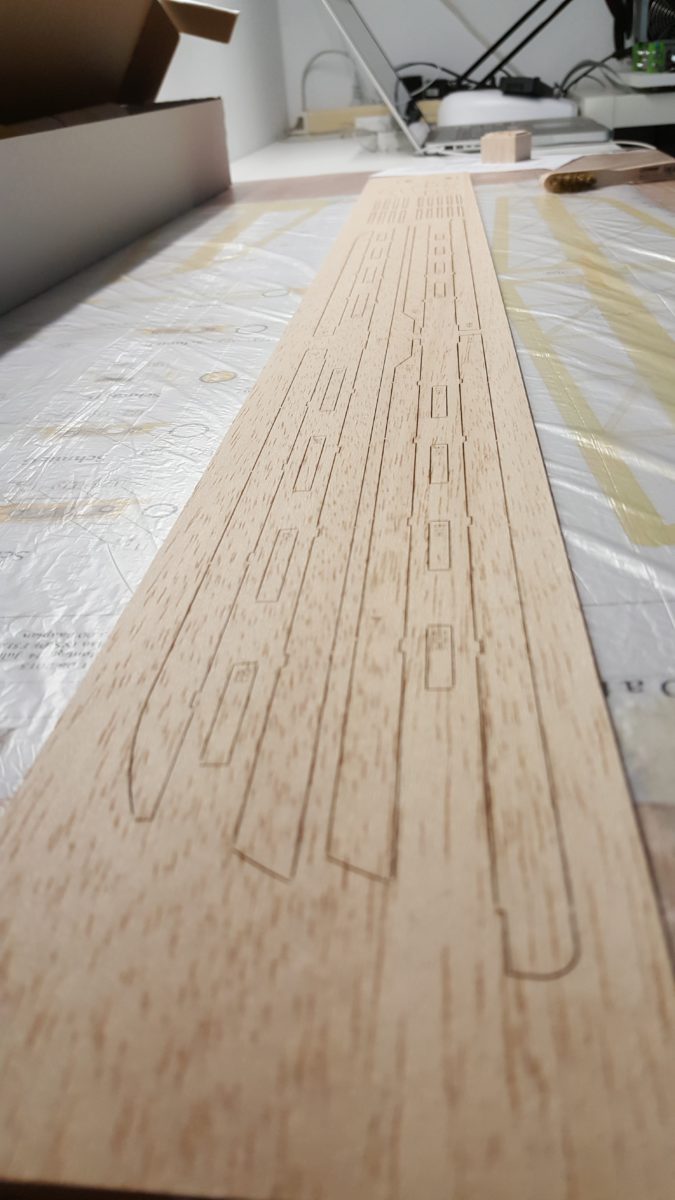
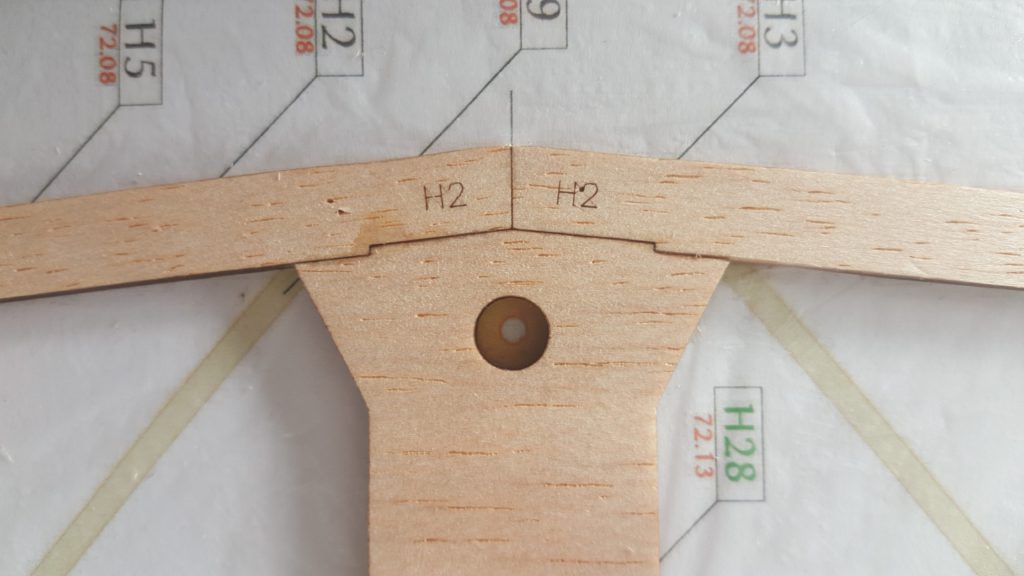 The first parts are cut out of the boards of Balsa. As everyone who build a CNC-kit from Höllein can confirm; the fit of the lasercut parts is phenomenal! As the first steps into building the Inside F5J are set and the first part is produced, I am looking forward to the process of “problem free” building!
Tail Feathers
Get the build area sorted!
Messy
In order to build the “perfect plane” I have to have “peace of mind”. 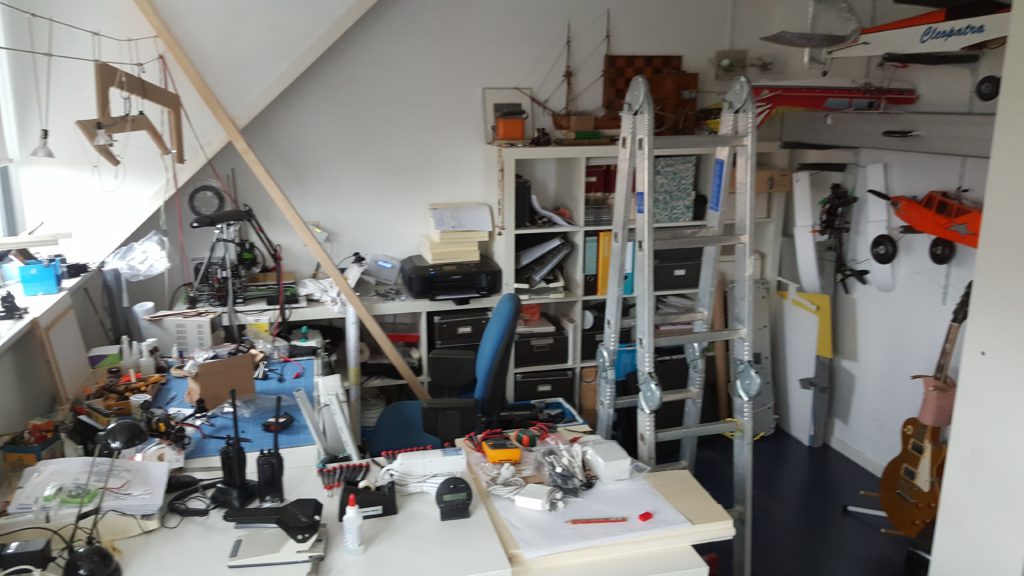 This can be achieved in an environment that is fully Feng Shui, organised and clean. As the current building room is not yet up to par, some work needs to be done here…
This can be achieved in an environment that is fully Feng Shui, organised and clean. As the current building room is not yet up to par, some work needs to be done here…Improved build area
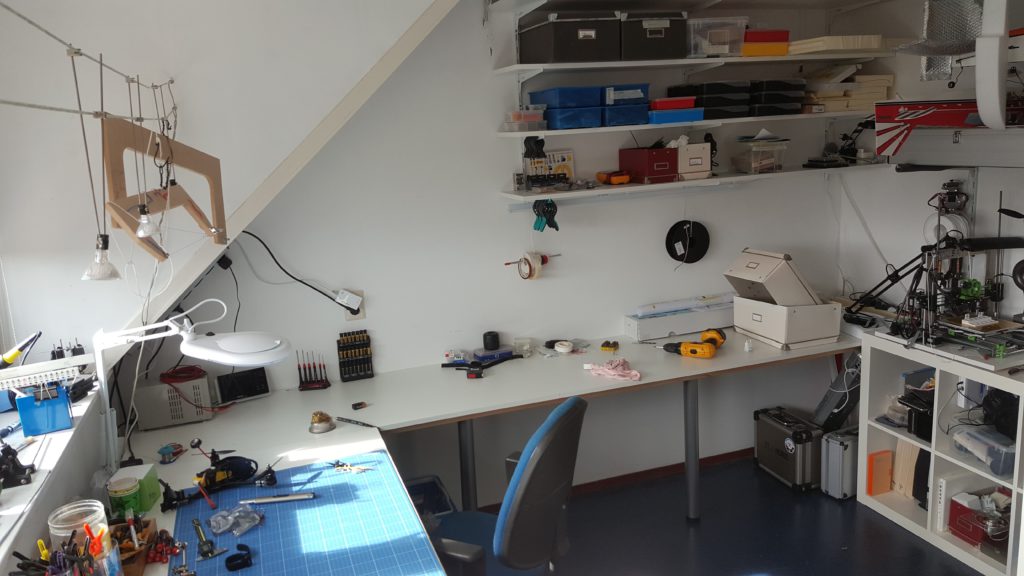 After some hard work, where I added a large table and some storage place on the wall, I organised the RC- kit that was rusting away up till now in the shed outside. Now this is starting look like a proper building room.
Build plank
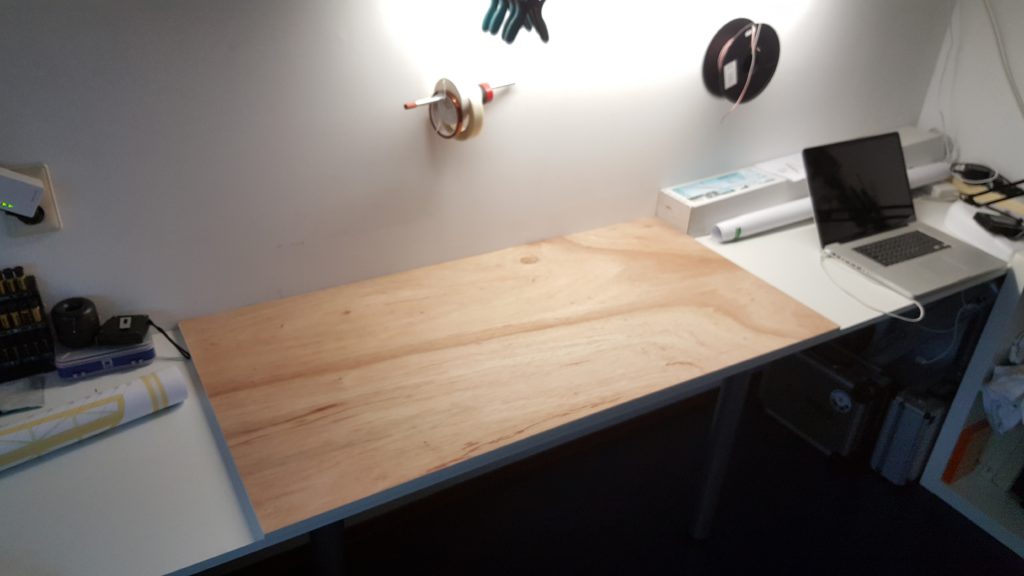 The only thing that is still lacking is a build-plank.
Requirements for this build plank are:
- Perfectly straight so wings will not get build warped
- Long enough, so all parts fit on the table
- slightly soft, so I can push needles in the surface
Surfaces that have been considered are (o.a.):
- Dry-wall
- Cork (also used as sound insulator on walls)
- regular plywood
I settled for the plywood, as my previous builds have been made on this as well and I have no complaints on this material. I bought some 10mm plywood (1220x610mm) and put some iron-on strips on the sides to prevent splintering (looks really nice to…). As @rob is going to try out some industrial cork, I am really curious as to how that works. That could be a nice upgrade in the future. Dry-wall is not my material of choice as I suspect that pushing in pins and needles in roughly the same spot will cause a messy surface.
So now that all the preparations are done,… let’s get building![kkstarratings]
